
When your car picks up a dent, a scrape, or some crash damage, the quickest way to get things moving is to send us a few clear photos. Here at The Body Shop in Mullingar, a handful of good photos helps us get a sense of what has happened to your vehicle before we talk you through the next step.
Plenty of drivers across Mullingar and Westmeath are not sure what to photograph or think a single quick snap will do the job. Photos will not replace a proper workshop inspection, and they will not guarantee a final quote on their own. But starting with three straightforward views gives our technicians enough context to point you in the right direction.
The three essential photos to take
Whenever you are photographing vehicle damage, try to capture three different views: a wider shot for context, a sharp close-up for detail, and an angled view to show depth. Between them, these three perspectives give us both the scale of the damage and the surface detail we need.
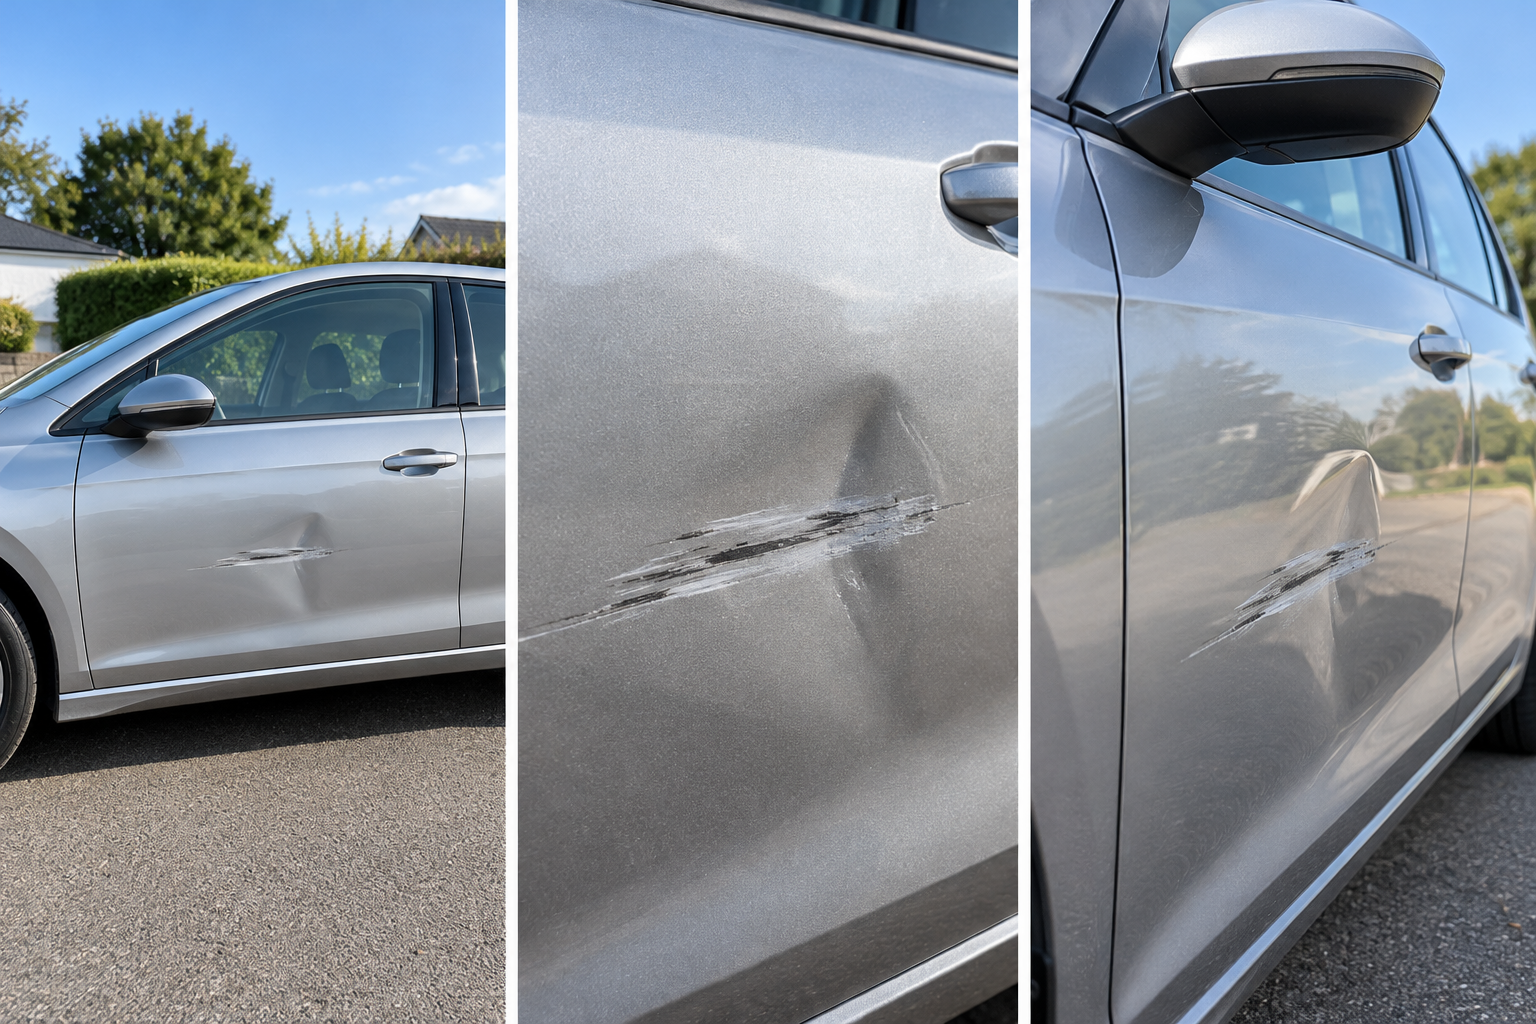
Illustrative photo guide: three essential perspectives
Note: This guide is illustrative to assist motorists when photographing vehicle damage.
1. Take a wider photo of the damaged area
Start by stepping back three or four metres. We need to see the entire damaged panel and how it sits next to the panels around it, including swage lines, wheels, and light clusters. Say the damage is on a front door: we would want the whole side profile showing the front wing and the rear door as well. If a collision affected several panels, take an extra wider shot showing the full side or corner of the vehicle. A wide photo gives us the location and helps us spot broader panel displacement.
2. Take a clear close-up of the damage
Next, move in closer and focus directly on the point of impact. Photograph any visible paint scratches, sharp creases, bumper tears, or cracked mouldings. Keep your phone steady and make sure the autofocus locks onto the damage rather than the background. Do not crop so tightly that the surrounding metal or plastic becomes unrecognisable. Leave enough visible panel so we can tell where on the component the scrape sits. If there are a few scrapes or deep gouges, take two or three close-ups from slightly different distances.
3. Take a photograph from an angle
Straight-on photos tend to flatten dents because cameras struggle with depth on uniform painted surfaces. Stand about 45 degrees to one side and photograph along the length of the panel. Natural light reflecting along the car's curves helps reveal the perimeter, depth, and tension of a dent or crease. If the dent is subtle, try crouching or shifting side to side until the reflection of a straight line (like a roofline or a painted road marking) bends across the damaged area.
Have your damage photos ready?
Pop your wide, close-up, and angled shots into our step-by-step tool.
How to photograph different types of damage
Different repairs need different visual cues. Tailoring your photos to the specific issue helps us figure out whether the work points towards dent removal, panel beating, dedicated scratch repair, or full crash repairs.
Dents
Side angles and shifting reflections are key for dents. When metal stretches without breaking the paint, the severity of the crease tells us whether paintless techniques will work or whether we will need to reshape and repaint. Try to capture the whole depression, especially where the dent meets the original body line.
Scratches and paint damage
For scratches, give us one wide view showing the whole panel and one sharp close-up in clear light. A photo cannot tell us for certain whether a scratch has gone through the primer or e-coat layers, but good lighting lets our painters assess the colour contrast and advise whether machine compounding or a panel respray is the more likely fix.
Bumper or panel damage
Modern plastic bumpers often deform and spring back, leaving cracked paint, broken mounting clips inside, or misaligned panel gaps. Show us the whole bumper assembly along with detailed shots of any visible splits, loose undertray plastics, or uneven gaps between the bumper and the adjoining wing or bonnet.
Tips for getting clearer photographs
Taking two minutes to set up your shot makes a real difference to what our workshop team can see.
- Use daylight or even outdoor lighting: Natural, overcast daylight gives the most even illumination. Dark car parks or night-time camera flash create harsh glare that hides dent contours.
- Avoid strong glare and harsh reflections: Stand so bright sun is not reflecting straight into the camera lens off high-gloss clearcoat.
- Make sure the camera is focused: Tap your phone screen directly over the scratch or dent before taking the photo.
- Keep enough distance to show context: Do not crop so tightly that the car panel becomes unrecognisable.
- Take extra shots if damage is subtle: Uploading four or five photos covering different angles helps us build an accurate picture.
- Avoid photo filters or heavy editing: Send unaltered original photos so colour shades and panel contours stay true.
Safety first: Never move or drive a vehicle that is visibly unsafe, leaking fluids, or has tyres rubbing against bent bodywork just to get a better photo. Photograph the vehicle where it is safely parked.
What photographs can't tell us
Online photo reviews are a handy starting point, but it is just as important to be upfront about what they cannot do. Photos capture visible surface damage, but they cannot show us what is hiding beneath the outer panels.
Behind a dented wing or bumper you will often find impact reinforcements, radiator supports, ADAS sensor brackets, wiring looms, and structural chassis legs. That is why photo assessments cannot give you:
If your car has been in a heavier collision and does not look safe to drive, do not drive it. Arrange recovery or give our team a call directly for advice on setting up an in-person assessment in Mullingar.
What happens after you submit your photographs?
Our online Damage Check process runs through 4 clear stages across 10 quick steps, so you can give us the right details without any guesswork:
Vehicle Type
Pick your vehicle category (Car, SUV, Van, 4x4, Commercial) so we know the size and body structure.
Damage Diagnostic
5 quick multiple-choice questions: damage type, panel location, whether paint is broken, if it is drivable, and what outcome you need.
Upload & Notes
Upload 2 to 5 clear photos of the damage (wide, close-up, angled) and add any specific notes.
Contact & Make/Model
Pop in your name, phone, email, and vehicle make and model so our workshop team can follow up with advice.
Once you have submitted, our technicians look over the details, think about the likely repair route, and get back to you to let you know whether we can prepare a straightforward quote or whether booking an in-person workshop inspection at Killeenerk Moyvore is the more sensible next step.
Frequently asked questions
Can I get a repair quote from photographs alone?
Photos are great for an initial review and help us work out the likely repair route, like dent removal versus panel replacement. But because we cannot always see underlying damage or paint thickness in a photo, we may still need an in-person inspection before confirming a final, binding quote.
What if the damage doesn't show clearly in the photos?
Try taking extra shots from different angles or under softer daylight. If the crease or scratch is still hard to capture, send what you have and mention it in the notes, or give us a call on 087 933 3280 to arrange a time to drop by the workshop.
Should I photograph every damaged panel?
Yes. If an accident affected a wing, a door, and a bumper, take both a wider shot covering all three and dedicated close-ups of each one. That way nothing gets missed during the initial assessment.
Can I send photos of scratches as well as accident damage?
Absolutely. Our Damage Check process handles all sorts of cosmetic and bodywork issues, from minor car park scrapes and key marks to heavier panel damage and full restoration enquiries.
Related Repair Services in Mullingar

The Body Shop Crash Repairs
Based at Killeenerk Moyvore, Mullingar, Co. Westmeath, our team specialises in crash repairs, panel beating, dent removal, scratch repair, and vehicle restoration. We share practical workshop advice to help Irish motorists make informed decisions about their vehicle bodywork.
More from the Advice Hub
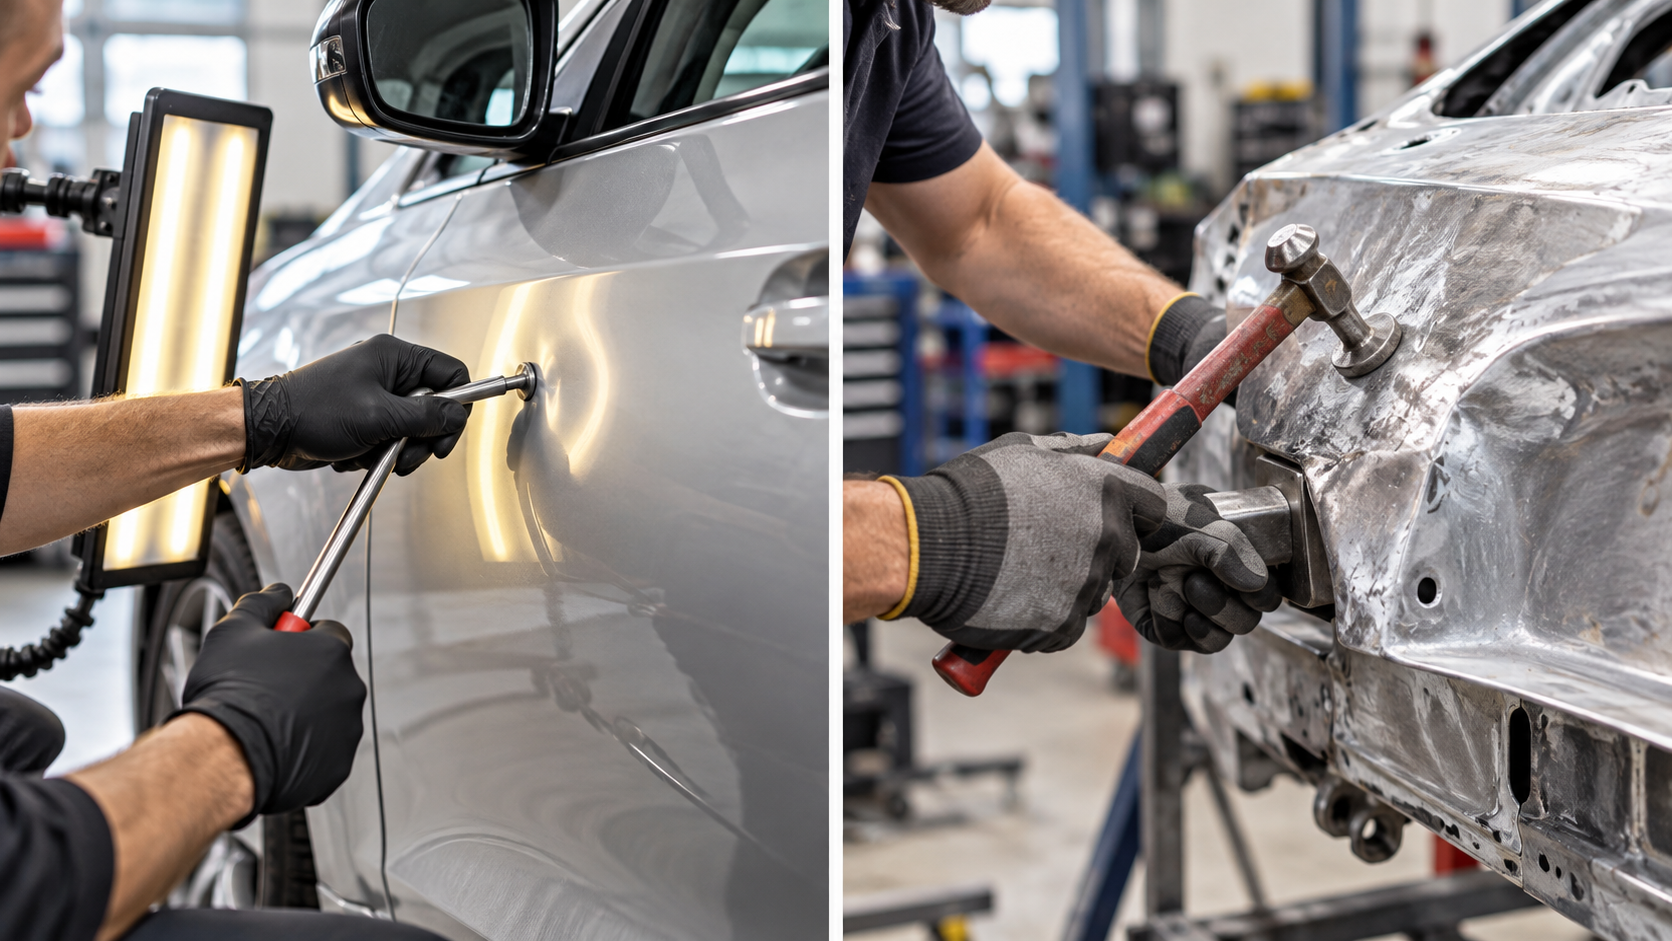 Education
Dent Removal vs Panel Beating: What's the Difference?
Not sure if your car needs dent removal or panel beating? Learn the differences, when each may be suitable and how to request a repair assessment in Mullingar.
Read article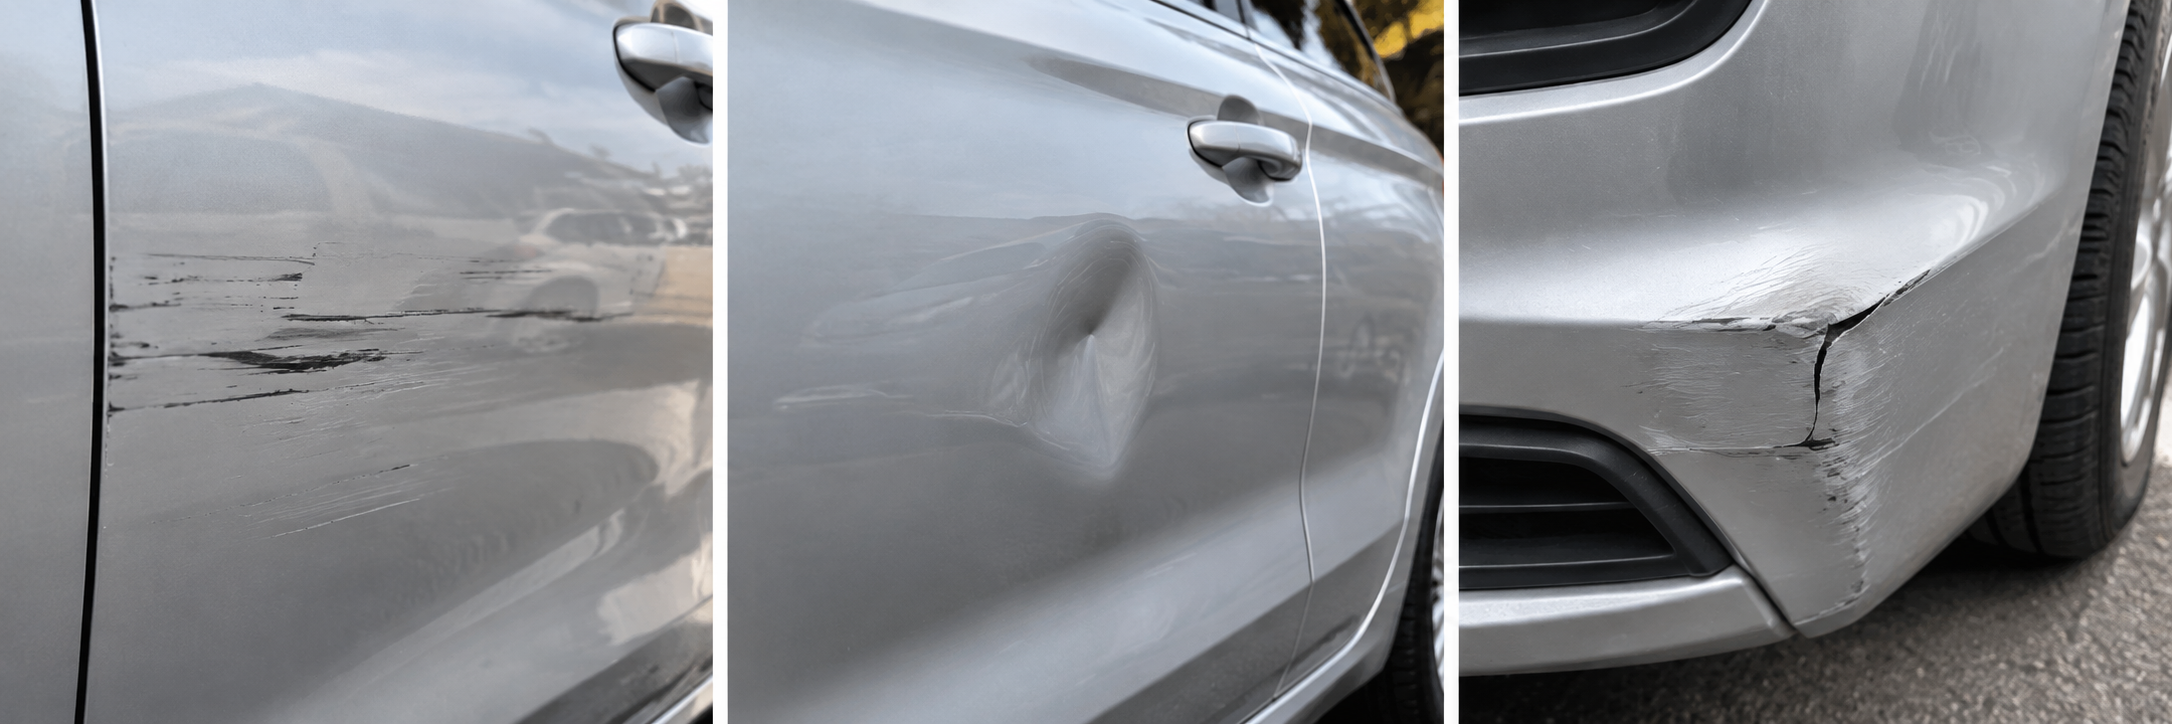 Advice
What to Do After Minor Car Park Damage
Found a dent or scratch after parking? Learn what to check, how to document car park damage, when to contact your insurer and how to arrange a repair assessment.
Read articleReady to show us the damage?
Submit clear photographs through our online Damage Check. We'll review the visible damage and help you understand the next practical step for your vehicle.